Microscopy is a great activity to foster curiosity about the natural world. It is also an engaging way to develop one’s observation and technical skills. However the cost of the equipment, and the perceived difficulty of using a « real » microscope, can hold people back from experimenting. Fortunately there are a lot of ways to explore the microscopic world that are accessible to all. After trying some of them, here is my selection.
DIY microscope: how can I transform my smartphone into a microscope?
You can find a lot of tutorials online to turn your phone into a microscope. I decided to try one of the most popular, the smartphone stand described in this tutorial.
The general principle is to use the camera on your phone to take pictures of a sample through a magnifying lens, installed on a stand that keeps the phone steady while you look.
After making this microscope using the suggested procedure, I would advise to do something much simpler. This is because this project (which by takes closer to 2 hours than the 20 minutes advertised in the tutorial), does not give much better results than just taping a lens to the camera of your phone and holding the phone in your hand while you look.
The real difference is that it is much easier to place the phone on something rather than trying to keep it steady in your hand.
So I kept the tip from the tutorial to get the lens from a cheap laser pointer, and the technique of taping it to your phone camera, and make up my own solution. You can see it in this DIY microscope tutorial. And this time I guarantee that it will take you no more than 20 minutes!
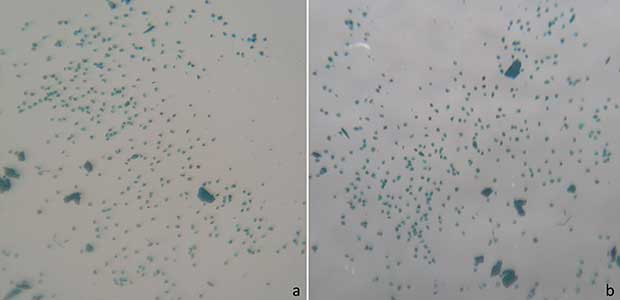
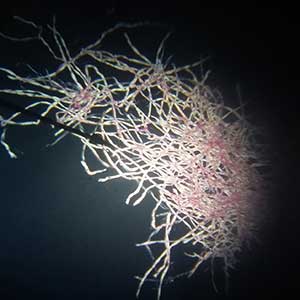
Here are a few images that I took using this method: can you guess what you are looking at? Post your answers in the comments section!

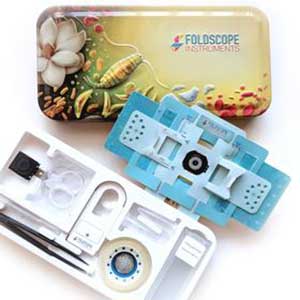
The famous Foldscope
Stanford bioengineer Manu Prakash and his team have created a paper microscope, capable of a X140 magnification with a 2-micron resolution. Over half a million Foldscopes have been distributed to educators and healthcare professionals, and anyone can now purchase an individual kit from the Foldscope website for just under $40. The huge community of Foldscope users post tutorials, pictures and ideas on a dedicated website. I have never used a Foldscope yet, but I heard that some of our NCCR labs have: so please share your experience in a comment!
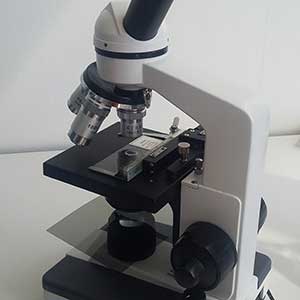
Upgrade your classroom microscope
Some research microscopes have sophisticated functions, and are very expensive. But if you already have a regular microscope, here is how to unlock its potential! You can transform your classroom microscope into a polarisation microscope at minimum cost, by just adding two pieces of polarising filter. You simply cut one rectangle of polarising filter and place it on the light source, and cut a circle that you tape to the eyepiece.
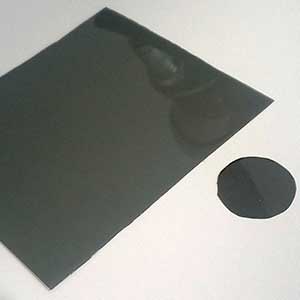
The filters can be purchased from a didactic materials supplier (I bought mine from Jeulin).
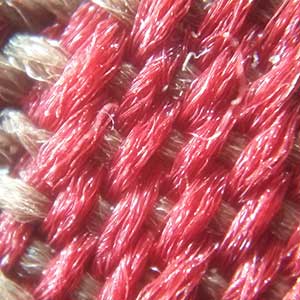
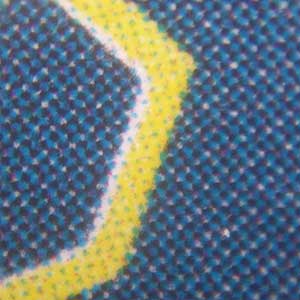
This technique is particularly useful to observe rock samples, but it also gives beautiful images when you look at birefringent biological materials, such as cotton fibers or starch.
Get help from professionals!
And finally, if you are a teacher, remember that outreach platforms can help you. For example, at the University of Geneva, the BiOutils platform provides engaging classroom protocols in biology, and can even lend you microscopes!
➡ Download our DIY microscope tutorial
Any other tips on DIY microscopy? An experience to share? A question? Feel free to use the comment section!
Leave a comment
The editors reserve the right not to publish comments or to abridge them.